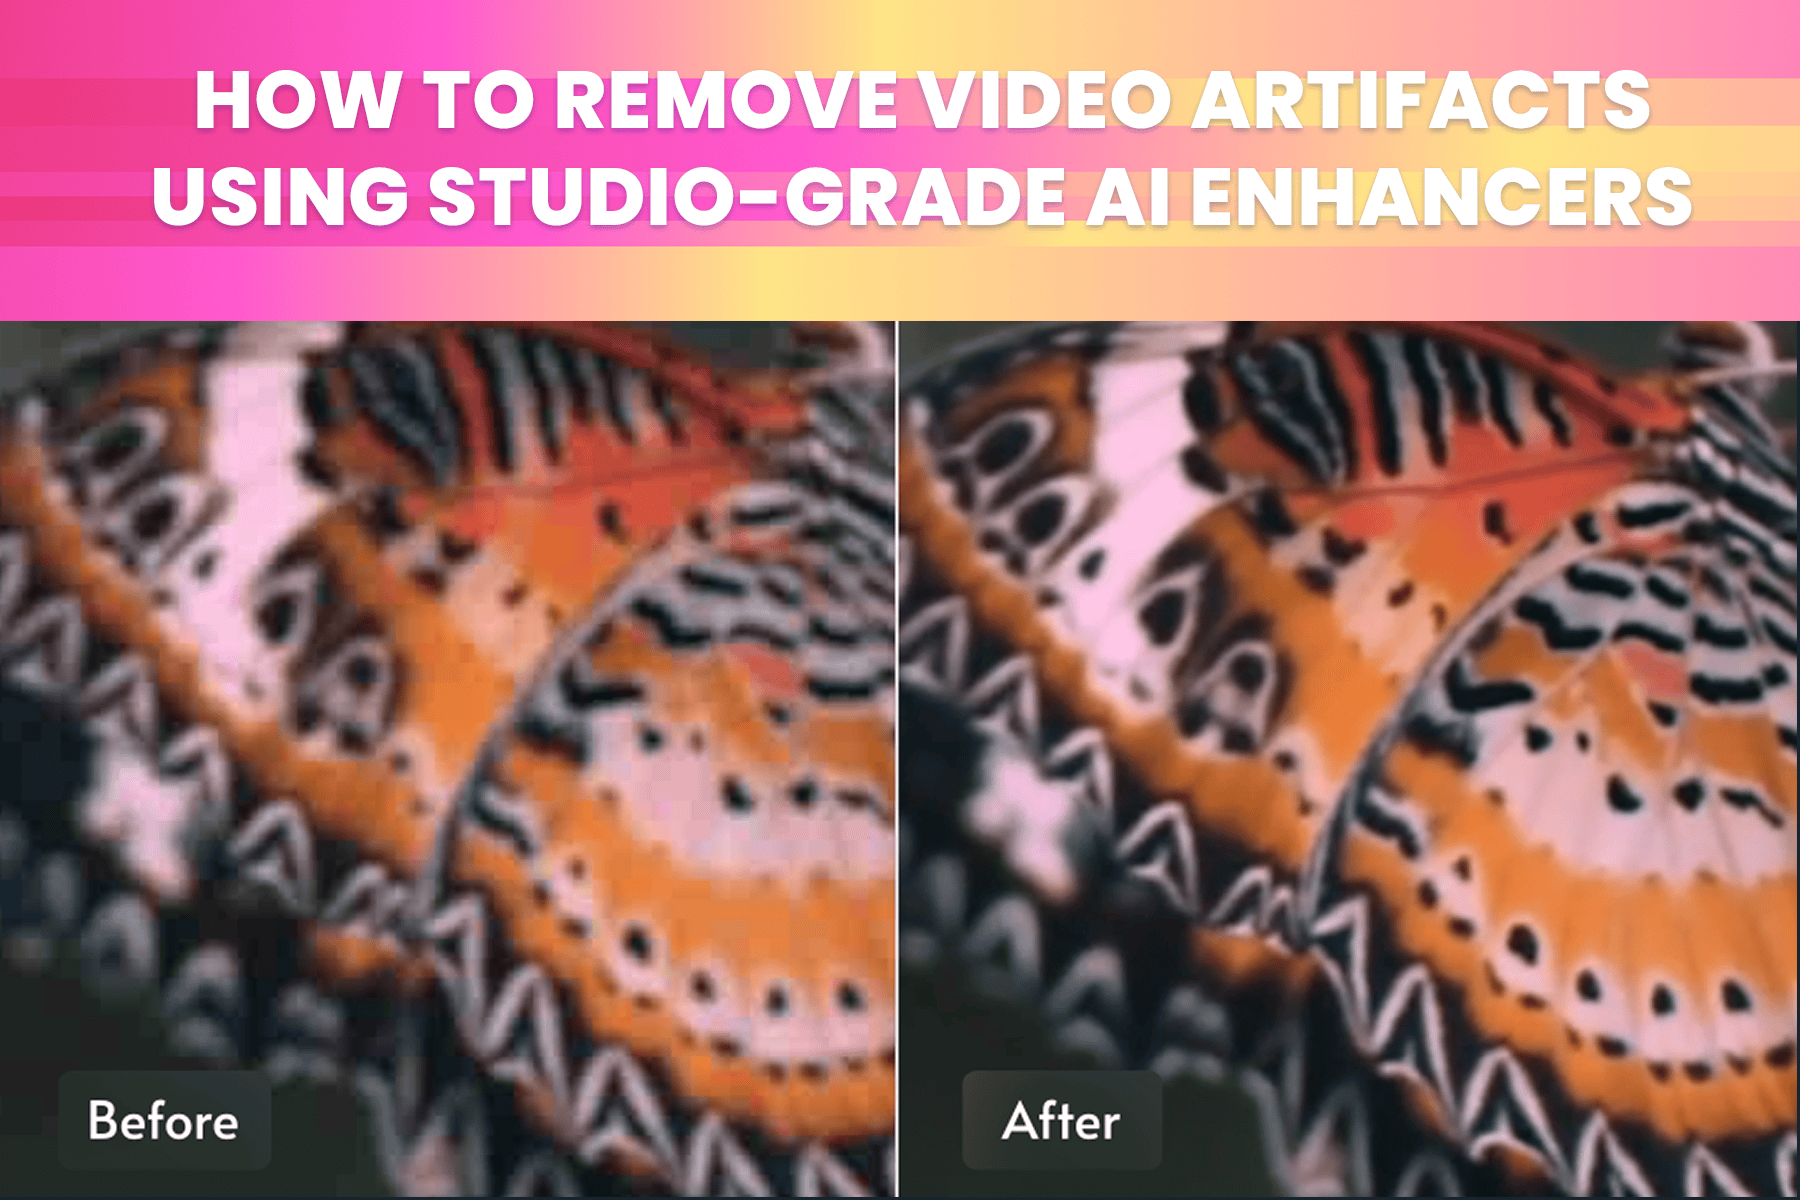
How to remove video artifacts using studio-grade AI enhancers
Learn how to effectively remove video artifacts using studio-grade AI enhancers.
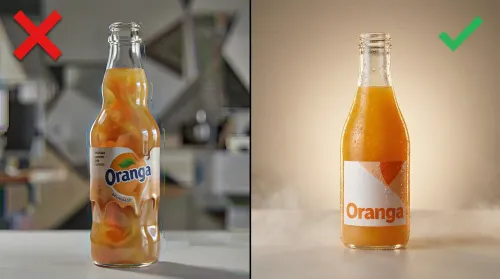
AI enhanced video technology can significantly enhance video quality through creative refinements and technical improvements. Not so many studio-grade capable AI tools specifically excel at addressing visual imperfections such as low resolution, noise, color inconsistencies, and blur.
What causes video artifacts?
Video artifacts are primarily a result of aggressive video compression, where crucial data is discarded during encoding to reduce file size. These imperfections noticeably degrade video quality, manifesting as spatial or temporal artifacts. Spatial artifacts are visible when video playback is paused, whereas temporal artifacts appear predominantly during playback.
Common types of video artifacts
Video artifacts manifest in different forms and are usually the only obstacle standing between you and perfect recordings. Don’t worry. These artifacts manifest, nevertheless, if you are an amateur or professional videographer, from subtle compression errors to glaring distortions that detract from the viewing experience. To tame visual artifacts using studio-grade AI enhancers, first, you need to understand their nature and what causes them. Artifacts range from subtle compression errors to glaring visual disturbances:
Compression artifacts
Compression artifacts arise due to data reduction methods used in codecs such as H.264, HEVC (H.265), and VP9. These methods discard video details, leading to quality loss. The degree of compression depends on the type of chosen codec, bitrate, and the complexity of the video content.
- Blockiness: This is one of the most recognizable compression artifacts. Characterized by blocky, pixelated areas, especially in smooth gradients or low-detail regions.
- Mosquito noise: Appears as faint, oscillating patterns around sharp edges and fine details.
- Temporal artifacts: These artifacts occur due to inter-frame compression techniques (e.g., predicting motion and only storing changes between frames). Ghosting appears as faint trails or blurry outlines following moving objects.
Removing video artifacts with studio-grade AI
Removing video artifacts is a complex process that often requires a combination of techniques and specialized software. AI technology can assist in removing video artifacts in studio-grade quality by understanding neural networks and machine learning language. These are computational models inspired by the human brain structure capable of recognizing patterns.
Here’s a breakdown of common methods:
Noise reduction
Noise reduction is a critical step in improving video quality. With advancements in AI technology for temporal noise reduction, this technique analyzes and compares consecutive frames in a video to identify and remove random noise patterns. AI-powered temporal noise reduction compares consecutive video frames, identifying and removing random noise patterns. This method smooths grain and reduces color noise, carefully preserving essential details to avoid excessive smoothing or ghosting.
Compression artifact removal
Addressing compression artifacts is often a more complex process than noise reduction, as the damage is intrinsic to the compressed video and usually the area where AI video upscalers can help remove video artifacts within studio-grade quality.
- Upscaling and sharpening: If the video resolution is low, upscaling can sometimes amplify compression artifacts. Latest AI upscaling tools like TensorPix can help eliminate flickering and artifacts, even in fast-paced scenes. TensorPix largest internally trained model gives Ultra 4 the ability to generate stunning detail, even from poor-quality sources.
- Manual retouching: Stubborn artifacts will likely require manual intervention using methods such as masking, cloning, healing, gentle blurring, and motion tracking to ensure seamless correction.
Interlacing and de-interlacing techniques
If the video is interlaced, de-interlacing is a necessary step to convert to a progressive format. There are various de-interlacing algorithms, each with its own trade-offs. As a rule of thumb, understand your footage and identify whether the material has significant motion, compression issues, or improperly de-interlaced frames. It will give you a clue as to which deinterlacing method can be nominated as the primary and secondary tryout.
Best practice for artifact removal workflow
Successfully removing video artifacts requires a well-defined workflow and adherence to best practices:
- Identify the artifacts: Carefully analyze the video to identify the types and severity of the artifacts.
- Choose the right AI filter while avoiding mixing them if it's not necessary.
- Prioritize the order of operations: Begin with noise reduction, then remove compression artifacts, followed by color correction.
- Preview and compare: Continuously preview enhancements at 100% zoom or higher, comparing the processed video against the original.
- Optimize exporting: Choose codecs and settings minimizing additional artifact creation, using lossless or lightly compressed codecs.
- Iterate and refine: Artifact removal is an iterative process requiring ongoing refinement to achieve optimal outcomes.
Conclusion
Removing video artifacts using studio-grade AI enhancers demands understanding, patience, and a willingness to experiment by learning about the nature of artifacts and utilizing the right tools and techniques while continuously building your overall awareness of the current state of AI technology advancements. Following a systematic workflow, you can significantly improve the quality of your videos and achieve a more professional and enjoyable viewing experience.