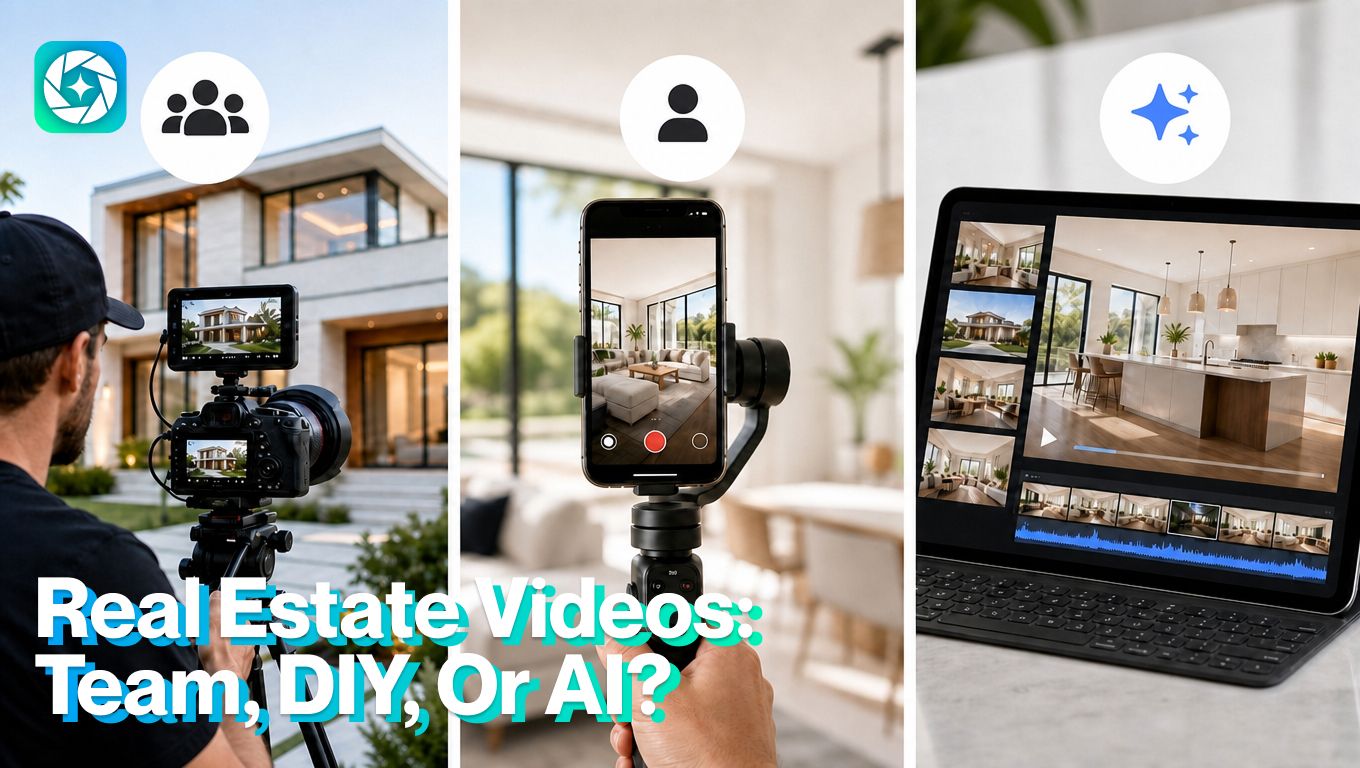
Real estate videography: Hire a team, do-it-yourself, or use AI?
Compare hiring a professional real estate video team, shooting listing videos yourself, and using AI tools to create real estate videos from listing materials.
7 minute read
Not long ago agents had one main path: hire a videographer, shoot the property, wait for the edit, then publish the video with the listing. That still works, especially for premium homes.
But today, agents have three realistic options: hire a professional team, shoot videos themselves, or use AI tools to turn listing materials into branded real estate videos. Each option has a place. The right choice depends on the property, the budget, the deadline, and how much the video needs to prove.
Quick comparison: pro team, DIY video, or AI
Each real estate videography option solves a different problem. Use this table to choose based on the listing, budget, timeline, and quality expectations.
| Option | Best for | Pros | Limitations | Use when |
|---|---|---|---|---|
| Hire a professional video team | Luxury listings, architectural homes, drone shots, premium launches, properties where atmosphere matters | Highest production quality, real walkthrough movement, better lighting, polished editing | Higher cost, scheduling required | The property needs premium presentation, or a high-end brand impression |
| Shoot real estate video yourself | Open house reminders, market updates, neighborhood clips, agent commentary, quick listing teasers | Fast, personal, low cost, useful for building agent visibility | Quality depends on skill, and editing discipline | Speed and personality matter |
| Use AI with TensorPix Property Video Maker | Standard listings with strong photos, quick promos, social cutdowns, price updates, coming-soon posts, just-sold videos | Fast, scalable, uses existing listing assets, easier to repeat across more listings | Can’t fully replace real walkthrough movement, or luxury cinematic storytelling | You have good listing photos and property details, and you need a polished video quickly |
Option 1: Hire a professional real estate video team
Hiring a professional team is still the strongest option when quality, atmosphere, and movement matter.
A professional real estate videographer can capture smooth walkthroughs, drone footage, twilight shots, exterior reveals, detail clips, agent introductions, voiceovers, and neighborhood footage. They also understand pacing, lighting, framing, color, and audio.
The downside is cost and coordination. A basic walkthrough video may cost a few hundred dollars. A more polished listing video can range from $500 to $2,000 or more, especially if it includes additional sequences such as drone footage, agent narration, twilight filming, or multiple social edits. The home also needs to be ready on shoot day, and the final edit may take time.
Professional video is worth it when the property has enough visual value to justify the investment.
Option 2: Shoot real estate video yourself
Do-it-yourself (DIY) real estate videography works best when speed and personality matter more than high-end production.
Agents can use a phone, stabilizer, and microphone to create quick listing clips, open house reminders, neighborhood videos, market updates, and buyer or seller education content.
This option is useful because it lets agents publish more often. You don’t need to schedule a full production team every time you want to explain a price drop, preview a listing, or answer a common buyer question.
DIY video works well for:
- New listing teasers
- Open house reminders
- “Three things buyers should know” clips
- Neighborhood walkthroughs
- Agent commentary
- Quick market updates
- Behind-the-scenes listing prep
The risk is quality. Shaky footage, bad audio, rushed movement, and poor lighting can make a home look worse than it is. That can hurt both the listing and the agent’s brand.
Option 3: Use AI real estate video
AI real estate video is the practical middle option. Especially as it gains more adoption, as 63% of videographers say they have used AI video tools to help them create or edit videos.
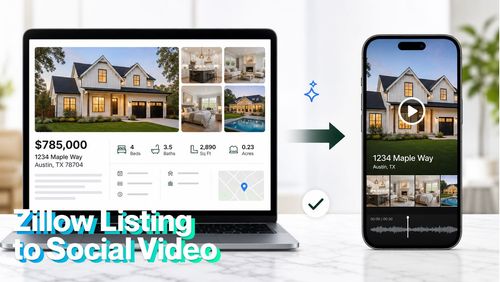
It is useful when agents already have listing photos, property details, and brand assets, but don’t have time or budget for a full video shoot. TensorPix Property Video Maker is built around that use case: turning existing listing materials into polished real estate marketing videos faster.
That matters because traditional video editors start with a blank timeline. AI editors starts closer to the real estate workflow: listing launch, open house promo, price-drop video, sold post, or under-contract update.
The strength is speed and repeatability. The limitation is that AI can’t fully replace real footage when the property needs true walkthrough movement, drone capture, twilight atmosphere, or a high-end cinematic feel.
AI works best when the goal is to make existing listing media work harder.
How to create a real estate video with TensorPix
The best results start with strong listing materials. AI can help turn those materials into a polished video, but the quality of the input still matters.
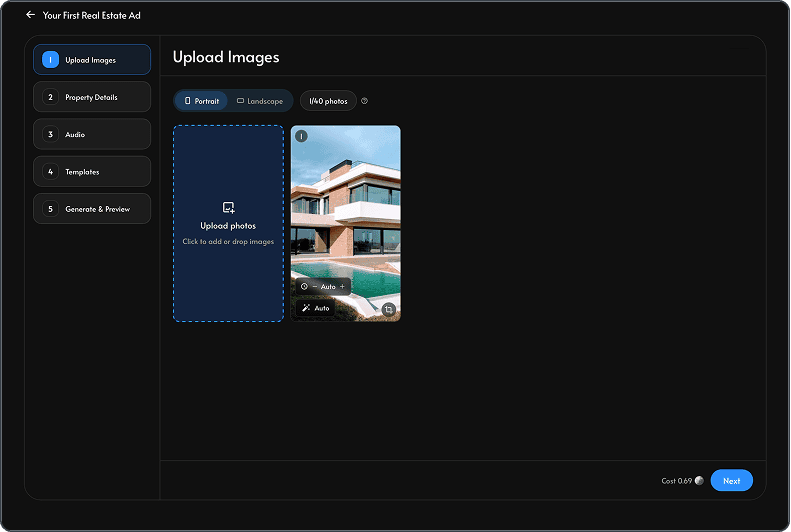
1. Prepare property photos
Choose the best listing photos before you start or you can import directly from Zillow by pasting a listing URL at the start of the project.
Decide what kind of video you need before building it. Vertical works best for Instagram Reels, TikTok, YouTube Shorts, and Facebook Reels. Horizontal works better for YouTube, property pages, listing presentations, and email.
Login on the TensorPix platform. Add the best photos first so the video starts with the strongest visual story. Put the most important images early: exterior, main living area, kitchen, outdoor space, or view. Avoid uploading weak, dark, cluttered, or repetitive photos.
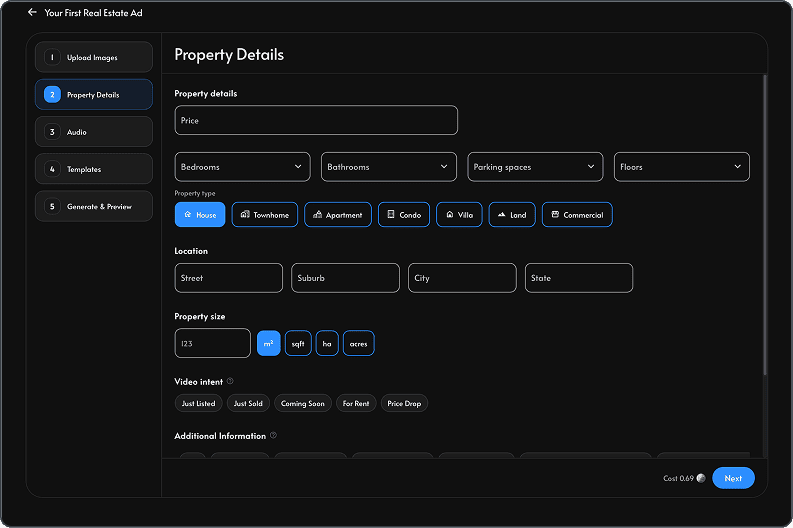
2. Add the property details
Keep the information clear and buyer-focused. Include location, property type, beds and baths, square footage, price, lot size, key updates, and the main reason the property stands out. This gives the video enough context to feel useful instead of generic.
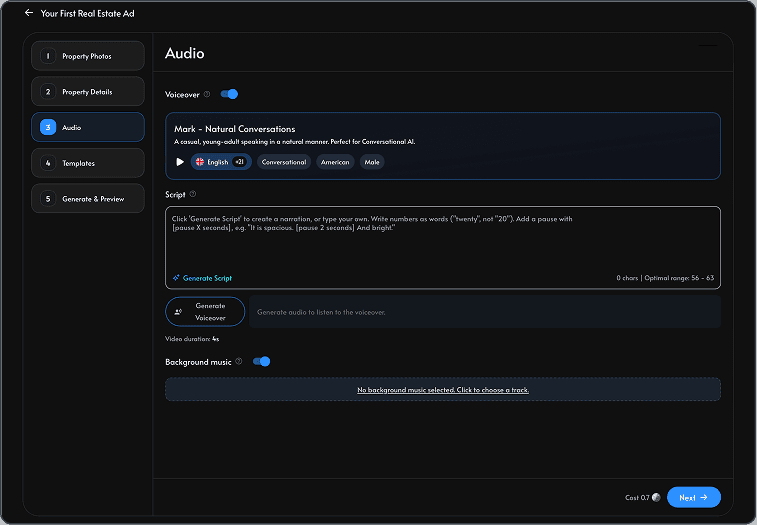
3. Generate the script or voiceover
Use the script field to guide the narration. Focus on what buyers should understand: layout, flow, outdoor space, upgrades, neighborhood fit, open house timing, or the reason the listing is worth seeing. If you use AI voiceover, review the script before generating the final version so it sounds natural and accurate.
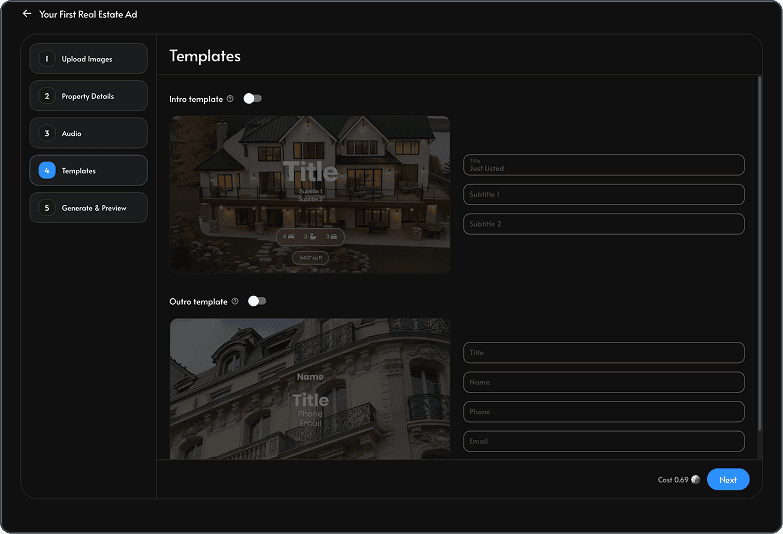
4. Select the template and music
Choose an intro, outro, branding style, and music theme that match the property. A luxury home, family home, rental, and open house reminder shouldn’t all use the same tone. Keep the design polished, but let the listing remain the focus.
5. Review for accuracy
Before exporting, check every caption, room label, property detail, price, and claim. Make sure the video doesn't imply features the property doesn’t have. AI can create a strong first draft, but the agent still needs to review it like any other listing material.
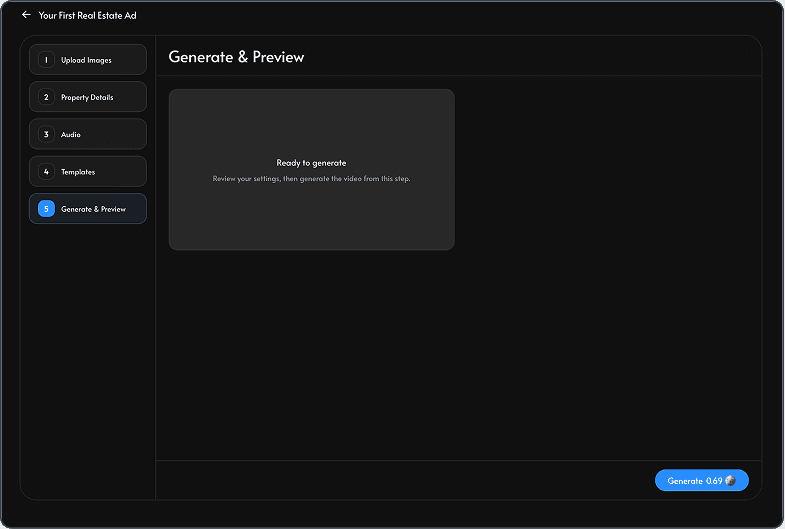
6. Generate your first video
Create the version that matches the channel. If the listing will be promoted in several places, generate more than one version and download it once satisfied with the final outcome.
Conclusion
Real estate videography is no longer one-size-fits-all. Professional video gives agents the highest production value. DIY video gives agents speed and personality, while AI tools like TensorPix Property Video Maker provide agents a faster way to turn listing photos, property details, and brand assets into real estate videos without starting from a blank editing timeline.
The best choice always depends on the type of listing.