How do you avoid common problems while recording lectures?
Sharing knowledge is a noble act, and video is a helpful medium. Our part is to help you enhance the lecture before your share the video with your audience.
Recording lectures sounds like an easy job. You have to place your camera on a tripod and hit record. Your lecture may be online, so you download a screen recording software and are good to go. If it were just that easy and straightforward in real life. To be honest, if you want to record a good video and audio, it will never be as simple as turning on the camera.
We want to make sure that you know how to record your lecture, but you must remember a few things that will please the listener's eyes and ears.
Know your surroundings
Before we dive deep into tips and tricks, we need to talk about the mindset when you are filming. This also applies when you are filming basically anything! You will never have perfect filming conditions in your locations, and that especially counts for lecture halls.
Lecture halls rarely have lights that look good on camera. They are usually too yellow or too white, but that is not your biggest concern. You should worry about having enough light in the space you are filming. If you don't have some extra lights in your backpack, the best thing would be to turn on all the lights and open all the blinds.
If you don't do that, you are putting yourself at risk of having noise in your recording, random variation in pixel brightness, or color that does not represent the captured scene's actual features. That is not good because the more noise you have, the more your lecture becomes unwatchable.
Also, one of the common problems is filming from far away, which means you won't have a clear image of the lecturer. If the lecturer uses a blackboard, you can forget about note-taking because everything will be pixelated, and you won't see a thing. There is a solution to this, which requires up-scaling , but more on that later.
Now, we are coming to your second most significant problem, which makes lecturers hard to understand, and that is an echo. Your audience can forgive an image that is not perfect,** but they will never forgive a lousy sound that is hard to listen to** . Unfortunately, this is where you have a few options. Your camera's microphone should be as close to the speaker as possible so that it captures the sound coming directly from a speaker.
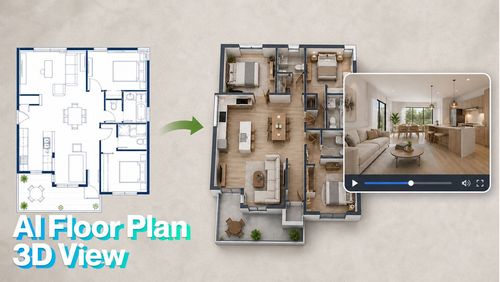
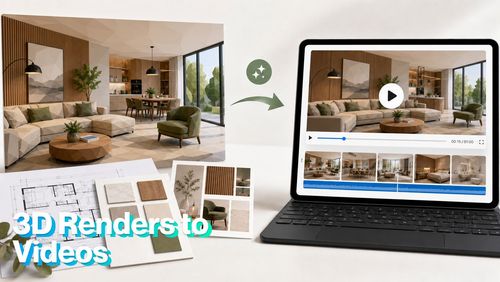
In that case, the blackboard behind the speaker won't be seen. If a lecturer uses a digital presentation, you can add slides to your video, but that requires some editing skills and video editing software that will provide you variours features, such as subtitle and avatar generator, video to text converter, voice dubber, file exporter, video trimmer and cutter, and background noise remover.
As you can see, this is where you must choose what to sacrifice , but there is a way to have the best of both worlds. Before we reveal that secret, let's look at your options if you don't have any equipment at all.
What if you don't have any equipment?
Sometimes, you may need to record a lecture but don't have any recording equipment. In this case, you can ask a friend to use their phone to record the lecture for you. This option is the most cost-effective one, but it brings more problems.
Your friend is probably recording from the audience, which is too far away, and holding your arm steady just for 5 minutes is challenging . Now you have shaky footage that is once harder to watch, which means your footage is once more unusable. But stick with us a bit more because there is a solution!
On the other hand, we must remember that on-site lectures aren't the only way to present. Let's explore remote lecturing a bit and what challenges you may face.
What about screen recording?
If you are doing a remote lecture, your best option is screen recording. The good thing about remote lectures is that you have more power to manipulate your surroundings regarding light and noise . Using a simple desk lamp can make your image a lot better. You can ensure there is no unexpected noise and no echo. Also, the good thing is that there is no murmur from the audience.
Despite all the advantages of remote lecturing, there is one huge disadvantage. A bad internet connection can mess up everything, especially the picture that becomes blocky and pixelated. To put it in one word, unwatchable.
As you can see from everything stated, this is not easy and is far from simple. It requires filmmaking knowledge to do it right and constantly weighing what to sacrifice - noise or video. The best choice will always be buying the equipment and finding a person to record a lecture,** but that choice takes an investment that only some people are willing to make**.
Fortunately, there is a cheaper way to fix lecture recordings that don't require buying expensive film-making gear. Everything is done with AI!
How do you fix your lecture recordings with AI?
Now that we know what problems to expect when recording a lecture, it's time for a simple and cost-effective solution for everyone. We are talking about the TensorPix AI filters, and this is how they can help you:
- AI Denoise - helps in low light conditions and removes noise
- AI Deep Clean - improves poor image quality that is blocky and pixelated
- AI Audio Denoiser - fixes audio with echo and a lot of background noise
- AI Stabilization - stabilizes shaky footage
- AI Upscale - makes your footage higher quality so that you can see the essential details on the blackboard
Remember that if you use TensorPix for free, you can use two filters on one video. That's why we recommend our Standard or Premium subscription plan because they give you more freedom to fix your lectures. Also, the first credits are on us.