How to turn Android photos into a real estate video with AI
Learn how to shoot real estate listing photos on Android, use the right camera settings, and turn those photos into a property video presentation.
7 minute read
Android phones can shoot strong real estate listing photos, but the results depend heavily on how you use the camera. That matters because Android isn’t one camera system. A Google Pixel, Samsung Galaxy, OnePlus, Xiaomi, or Motorola phone may all have different lenses, processing, color science, and camera menus.
If you are comparing both workflows, use this guide alongside the iPhone version to understand what changes on Android.
When Android phone is enough and when to hire a pro
Your phone can be a practical choice when the listing needs speed, simple visuals, or social-first content. Professional media is still the better choice when the property needs premium presentation, advanced lighting, drone footage, or a more polished campaign.
Use Android phone when:
- You need quick photos for a rental, coming-soon post, or fast listing update.
- The property is clean, simple, and easy to photograph.
- You are creating social clips, open house reminders, or short listing teasers.
- The listing already has professional photos, but you need extra vertical content.
- The goal is speed, not a luxury-level presentation.
Hire a professional when:
- The home is luxury, architectural, waterfront, or high-value.
- The property has difficult lighting, large windows, dark rooms, or mixed light.
- You need twilight photos, drone footage, floor plans, or a full listing video.
- The home is large, staged, or has several outdoor areas and amenities.
- The campaign needs to support a premium price point or seller presentation.
A simple rule works well: use your phone when speed and practicality matter most. Hire a pro when presentation quality can affect buyer perception or seller trust.
Start with the right Android camera settings
Before shooting the listing, set up the camera properly.
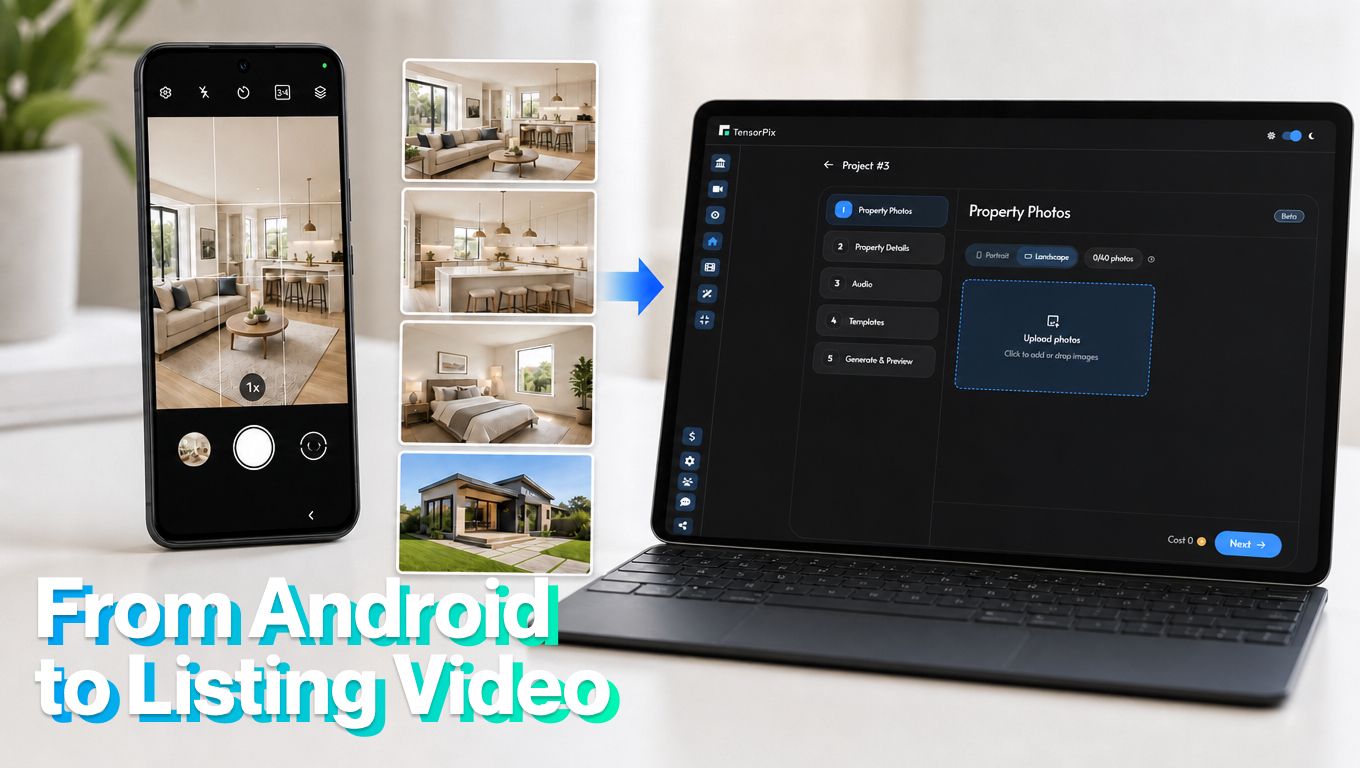
The best real estate settings are mostly the same: use the main lens, keep the phone level, avoid heavy filters, shoot in 3:4, and capture enough wide photos for buyers to understand the home.
Use the 3:4 photo ratio. On most Android phones, 3:4 uses more of the camera sensor than 16:9. Avoid shooting listing photos in 16:9 unless you need a specific website banner or video thumbnail.
Turn on grid lines. On Samsung Galaxy, open Camera, tap Settings, and turn on Grid lines. On Pixel, open Camera, go to Settings, then More settings, and choose a 3x3 grid. The grid helps keep walls, windows, cabinets, and door frames straight.
Use the main 1x lens for most rooms. The main lens usually has the best sensor and the cleanest image quality. Use the ultra-wide lens only when a room is too tight to capture otherwise.
Use JPEG for compatibility. If your Android phone is set to HEIF or high-efficiency photos, consider switching to JPEG before uploading to listing platforms or AI video tools.
Keep HDR on auto. Android HDR can help balance bright windows and darker interiors, but don’t let the photo look fake. If the room looks unnatural, lower the exposure manually.
Use high-resolution mode carefully
Many Android phones offer 50MP, 108MP, or 200MP photo modes. These sound better, but they aren’t always better for interiors.
For most rooms, use the standard binned photo mode, usually around 12MP. It often gives better low-light performance, faster shooting, and cleaner HDR.
Use high-resolution mode only when the lighting is strong and the subject is still. It can work well for exterior hero shots, architectural details, views, or a bright kitchen. It isn’t ideal for every room because file sizes are larger and dynamic range can be less forgiving.
Use pro mode only when it helps
Samsung Galaxy phones and many other Android devices include Pro mode. Pixel Pro models also offer advanced controls.
Pro mode can help when Auto mode keeps changing the color or exposure between rooms.
For interiors, start with these settings:
- ISO: keep it low, ideally 50 to 200 when there is enough light.
- Shutter speed: stay around 1/60 or faster if shooting handheld. If using a tripod, you can go slower.
- White balance: use Auto if it looks natural. If the color shifts too warm or too cool, try around 4500K to 5500K for interiors.
- Exposure: lower slightly, around -0.3 to -0.7, if windows are blowing out.
- Focus: tap the main area of the room, usually the far wall, kitchen island, or central feature.
If that sounds too technical, stay in Auto mode and focus on composition. A straight, well-lit Auto photo is better than a poorly adjusted Pro photo.
Shoot from the right height
Most listing photos look bad because the camera is too high, tilted, or rushed.
Hold the Android phone around chest height. Keep it level. Don’t angle the phone sharply upward or downward unless you are intentionally showing a high ceiling, staircase, or light fixture.
Shoot from corners and doorways. This helps buyers understand the size and flow of the home.
To cover all important elements, use our shot list.
How to turn photos taken by an Android phone into a real estate video with AI
TensorPix Property Video Maker is built to turn listing photos, property details, and brand assets into real estate marketing videos faster than starting from a blank editing timeline.
1. Prepare property photos
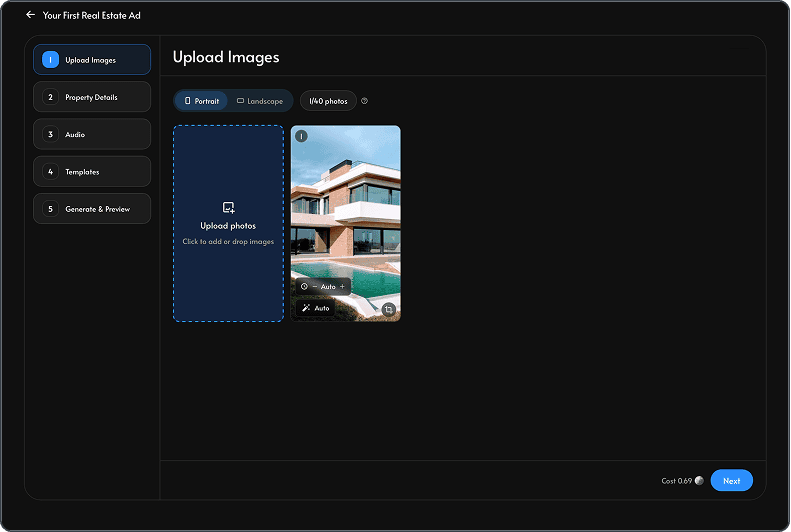
Choose the best looking listing photos on your Android before you start. Decide what kind of video you need before building it. Vertical works best for Instagram Reels, TikTok, YouTube Shorts, and Facebook Reels. Horizontal works better for YouTube, property pages, listing presentations, and email.
Login on the TensorPix platform. Add the best photos first so the video starts with the strongest visual story. Put the most important images early: exterior, main living area, kitchen, outdoor space, or view. Avoid uploading weak, dark, cluttered, or repetitive photos.
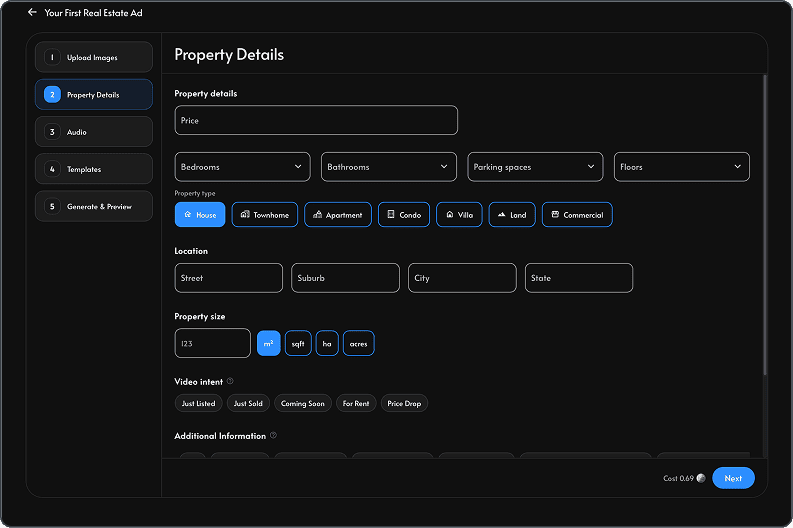
2. Add the property details
Keep the information clear and buyer-focused. Include location, property type, beds and baths, square footage, price, lot size, key updates, and the main reason the property stands out. This gives the video enough context to feel useful instead of generic.
3. Generate the script or voiceover
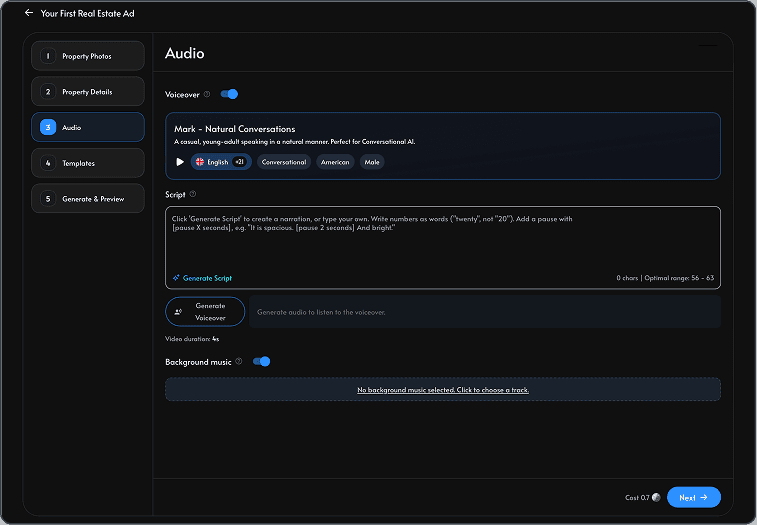
Use the script field to guide the narration. Focus on what buyers should understand: layout, flow, outdoor space, upgrades, neighborhood fit, open house timing, or the reason the listing is worth seeing. If you use AI voiceover, review the script before generating the final version so it sounds natural and accurate.
4. Select the template and music
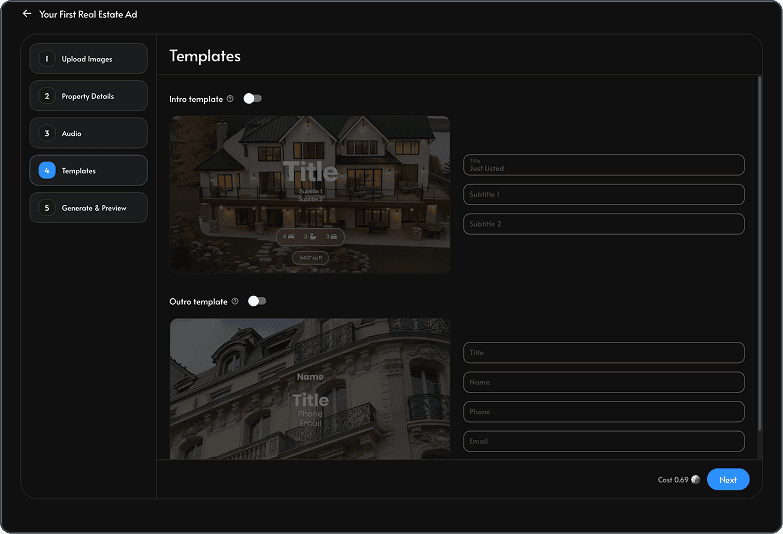
Choose an intro, outro, branding style, and music theme that match the property. A luxury home, family home, rental, and open house reminder shouldn’t all use the same tone. Keep the design polished, but let the listing remain the focus.
5. Review for accuracy
Before exporting, check every caption, room label, property detail, price, and claim. Make sure the video doesn't imply features the property doesn’t have. AI can create a strong first draft, but the agent still needs to review it like any other listing material.
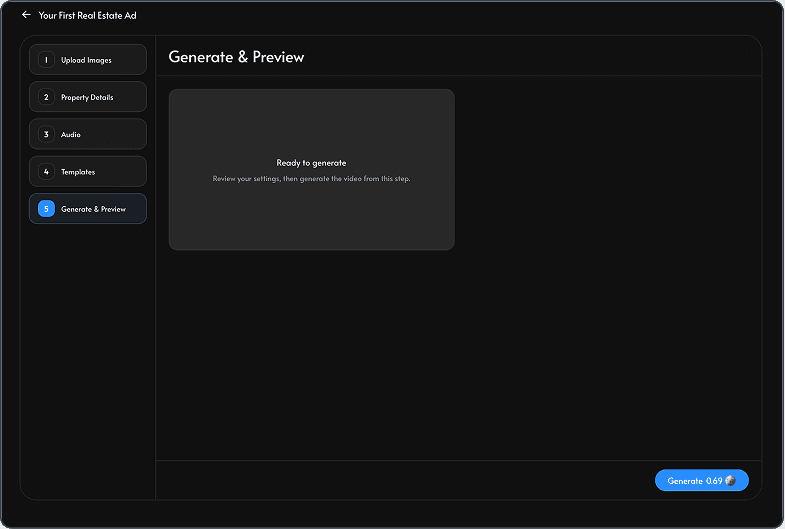
6. Generate your first video
Create the version that matches the channel. If the listing will be promoted in several places, generate more than one version and download it once satisfied with the final outcome.
Conclusion
Shooting a real estate listing on an Android can work if you prepare the home, use clean composition, shoot from the right height, capture a complete shot list, and think ahead about video.
The best results come when both parts work together: good photos first, smart AI video creation second.